Outcome
You will create a Deal Room tied to the correct property and test an access gate that matches the confidentiality requirement.
Navigation path
Deal Rooms > New deal room
Access
Deal Rooms require current plan access and permission for the source property.
On this page
What you will accomplish
Goals
- Link the correct property
- Choose an intentional access tier
- Test the complete visitor journey
Access-gate progression
Each tier adds another control before the visitor reaches protected content.
Free Access
Anonymous access
Email Required
Verified identity
NDA Auto-Approve
Signature then access
NDA + Approval
Signature then owner decision
- Free AccessEmail RequiredAdd identity
- Email RequiredNDA Auto-ApproveAdd agreement
- NDA Auto-ApproveNDA + ApprovalAdd manual review
Before you start
Data, sources, and access to prepare
- An eligible CREBuilder property or document
- Authority to distribute the included material
- An approved access policy
Prepare these details
- Choose the property and source document
- Separate public marketing content from confidential diligence
- Decide whether identity, an NDA, and manual approval are required
- Prepare a controlled external email address for testing
Complete the task
- 1
Start the room
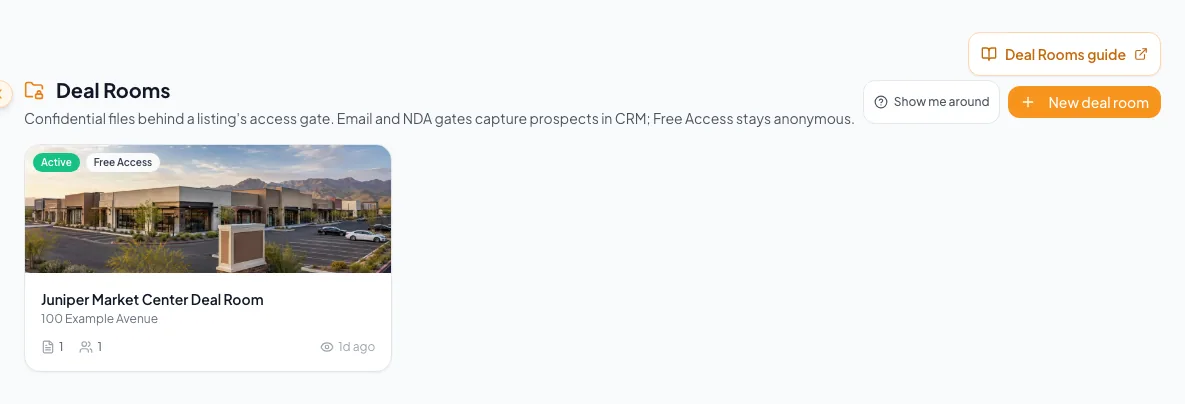
Deal Rooms
Select New deal room. From Listing Hub, the equivalent action is Create Deal Room.
Expected result: The setup wizard opens.
If this does not happen: Open the related Property Hub if the room should be created from a specific property context.
- 2
Select the property
Deal Room setup > Property
Choose the one intended property or document.
Expected result: The setup displays the selected property identity.
If this does not happen: Compare address and document type before continuing.
- 3
Select the access tier
Deal Room setup > Access
Choose one access tier.
Expected result: The setup displays the visitor behavior for that tier.
If this does not happen: Choose the least restrictive tier that still meets the approved confidentiality policy.
- 4
Choose identity fields
Deal Room setup > Access
Select one optional identity field when Email Required is used.
Expected result: The field appears in the visitor gate in addition to required name and email.
If this does not happen: Remove unnecessary fields that do not support follow-up.
- 5
Choose the NDA source
Deal Room setup > NDA
Select standard text, custom text, or uploaded PDF for an NDA tier.
Expected result: Standard text uses the company agreement when configured, otherwise the built-in confidentiality agreement. A PDF upload opens the field editor.
If this does not happen: For an uploaded PDF, place a required Signature field and select Save & continue before finishing setup.
- 6
Finish room setup
Deal Room setup > Review
Select the final create action once.
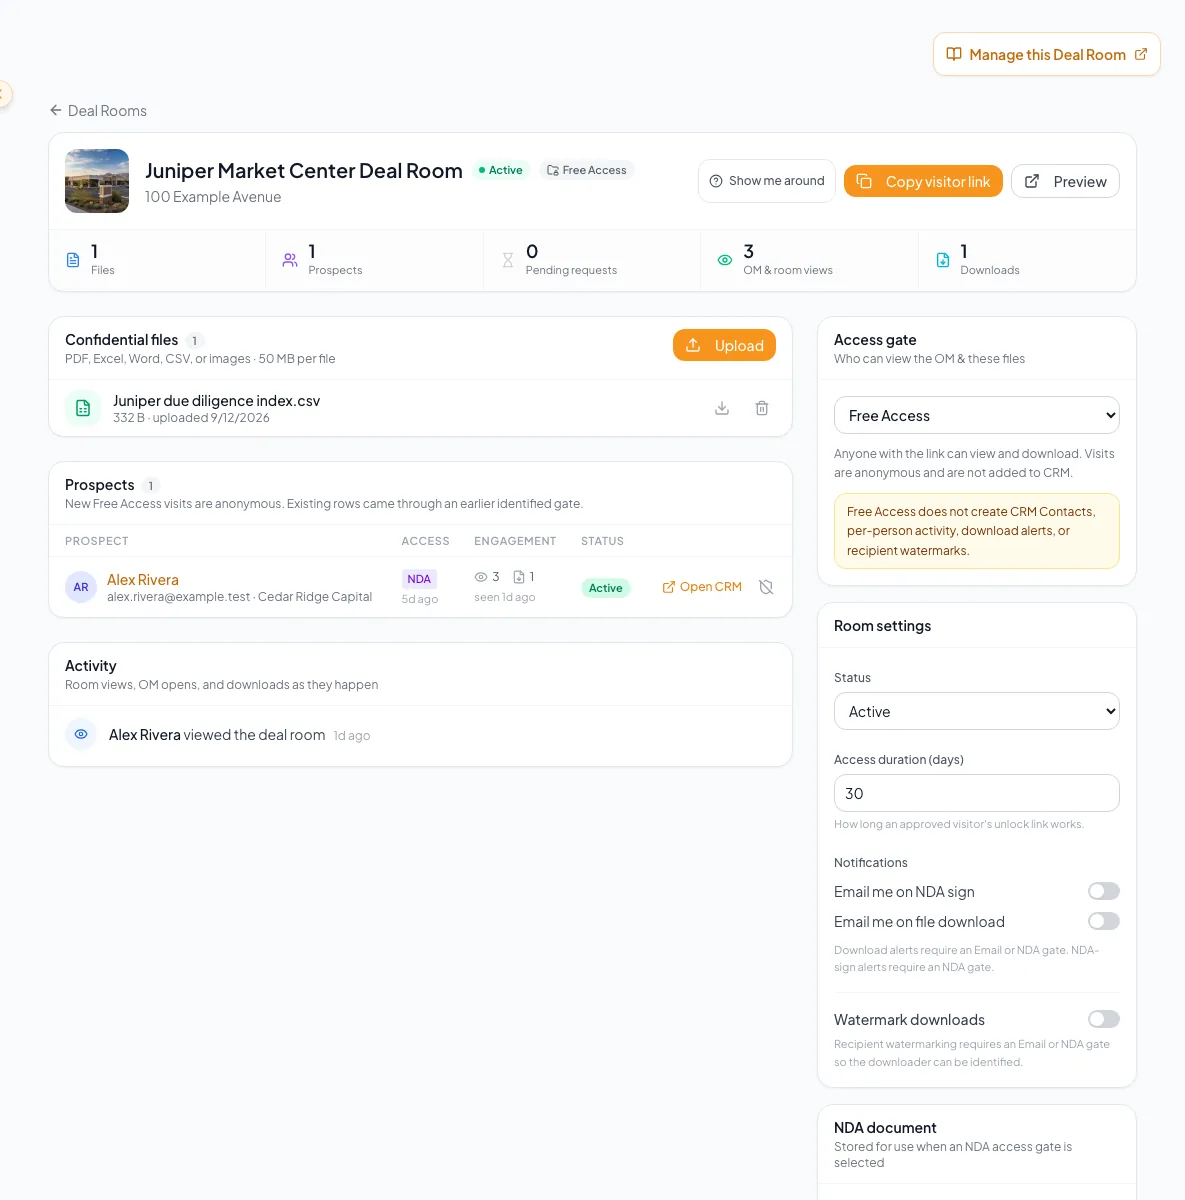
Expected result: The room detail page opens with an Active status.
If this does not happen: Do not create a duplicate while the first request is processing.
- 7
Open the visitor preview
Deal Room detail
Open the public teaser or room link in a signed-out window.
Expected result: The selected access gate appears.
If this does not happen: Use a private window if an owner session bypasses the external flow.
- 8
Complete the test access
Public Deal Room
Submit the one controlled test journey.
Expected result: The visitor receives access or a pending-approval result that matches the selected tier.
If this does not happen: Correct the access or NDA configuration before sharing the room.
Access-tier reference
| Tier | Visitor path | Individual tracking |
|---|---|---|
| Free Access | Open content without identity | No CRM contact, per-person activity, download alert, or recipient watermark |
| Email Required | Provide and verify identity, then enter | Identified contact and activity |
| NDA Auto-Approve | Sign the NDA, then enter | Identified signer and executed agreement |
| NDA + Approval | Sign the NDA, then wait for owner approval | Identified signer, agreement, and approval state |
Verify before you finish
- The room is linked to the correct property
- Access tier matches the approved policy
- The intended NDA displays correctly
- The signed-out test produced the expected access state
- Identified activity appears when the tier supports it
Troubleshooting and next steps
The room cannot be created.
Likely cause: The plan, property, permission, or setup may be incomplete.
- Read the displayed eligibility message.
- Confirm access to the source property.
- Complete the missing setup field.
The test visitor sees the wrong gate.
Likely cause: A prior session may retain access or the room tier was not saved.
- Confirm the access tier on room detail.
- Use a private window and a new controlled identity.
Final verification
- Deal Room setup > NDA: Standard text uses the company agreement when configured, otherwise the built-in confidentiality agreement. A PDF upload opens the field editor.
- Deal Room setup > Review: The room detail page opens with an Active status.
- Deal Room detail: The selected access gate appears.
- Public Deal Room: The visitor receives access or a pending-approval result that matches the selected tier.
- No blocking warning, failed status, or unresolved validation message remains in the completed workflow.